Tutorial
Step-by-step walkthrough of the Privasys Developer Platform — deploy a WASM application and a container application from commit to attested MCP tool server.
Two end-to-end tutorials covering both deployment targets on the Privasys Platform. Every screenshot was captured from the live platform using Playwright.
Part 1 — Deploy a WASM application
This tutorial deploys the wasm-app-example repository — a Rust module compiled to WebAssembly that exposes seven functions including get-random, hello, kv-store, and compute-hash.
Step 1. Empty dashboard
Sign in at developer.privasys.org with your GitHub account. You start with an empty dashboard.
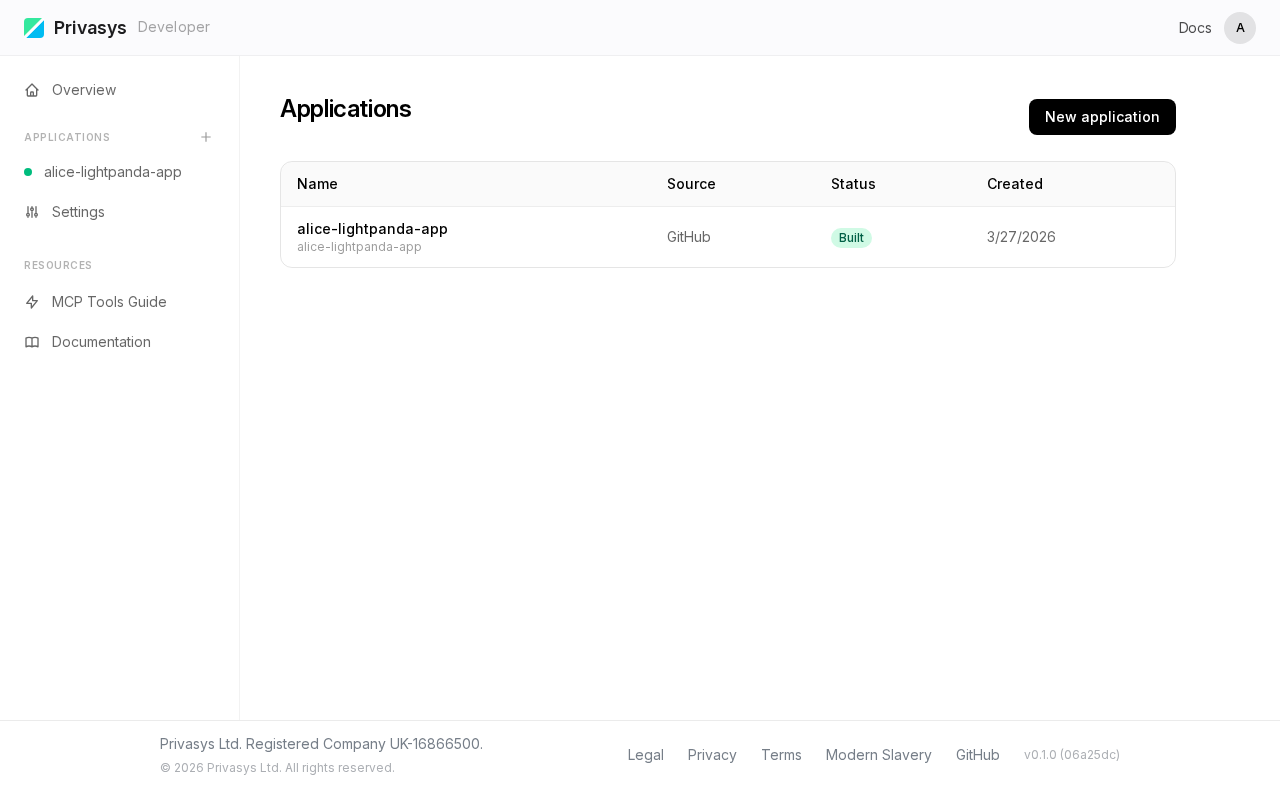
Click New Application to begin.
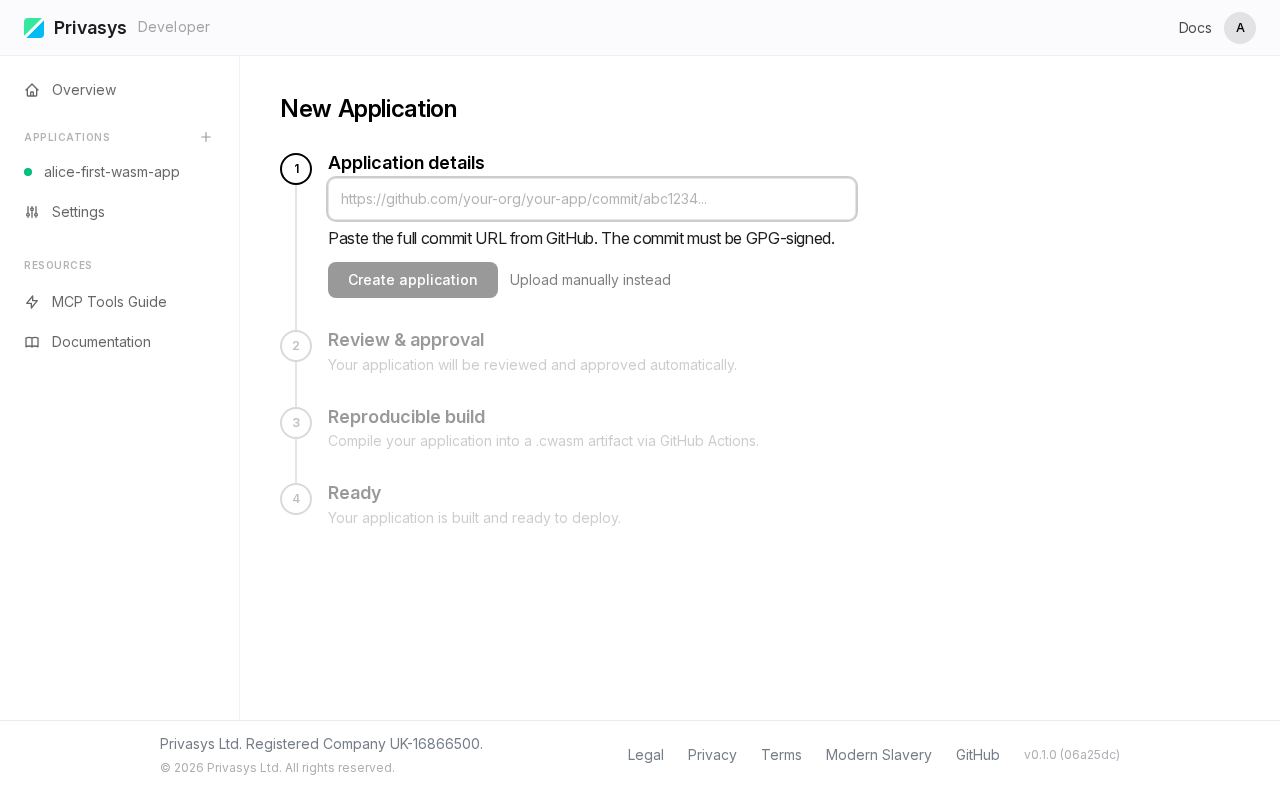
Step 2. New application form
The creation form appears. You will provide a GitHub commit URL, choose an application type, and give it a name.

Step 3. Paste commit URL and fill the form
Paste the commit URL from the wasm-app-example repository. The platform parses the URL, extracts the repository and commit hash, and selects WASM as the application type.
Give it a name — here we use alice-first-wasm-app.
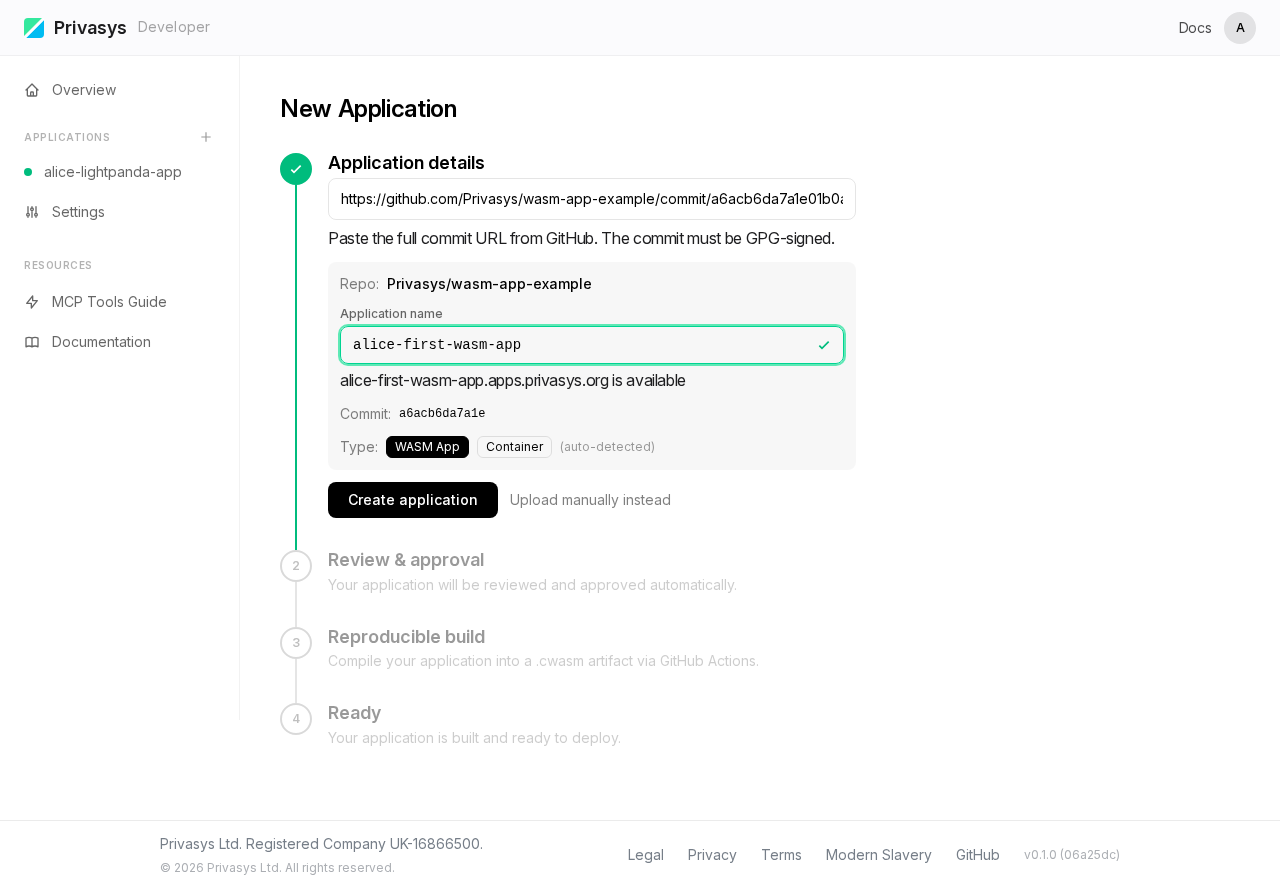
SHA-256 to watch: note the commit hash displayed on this screen. You will see this same hash appear later in the Overview (as the WASM module hash) and in the Attestation certificate (as the code measurement). This chain of hashes is how you verify that exactly the code you committed is what runs inside the enclave.
Step 4. Overview — build complete
After clicking Create, the platform triggers a reproducible build. When finished, the Overview tab shows the application metadata and build output, including the SHA-256 hash of the compiled .cwasm binary.
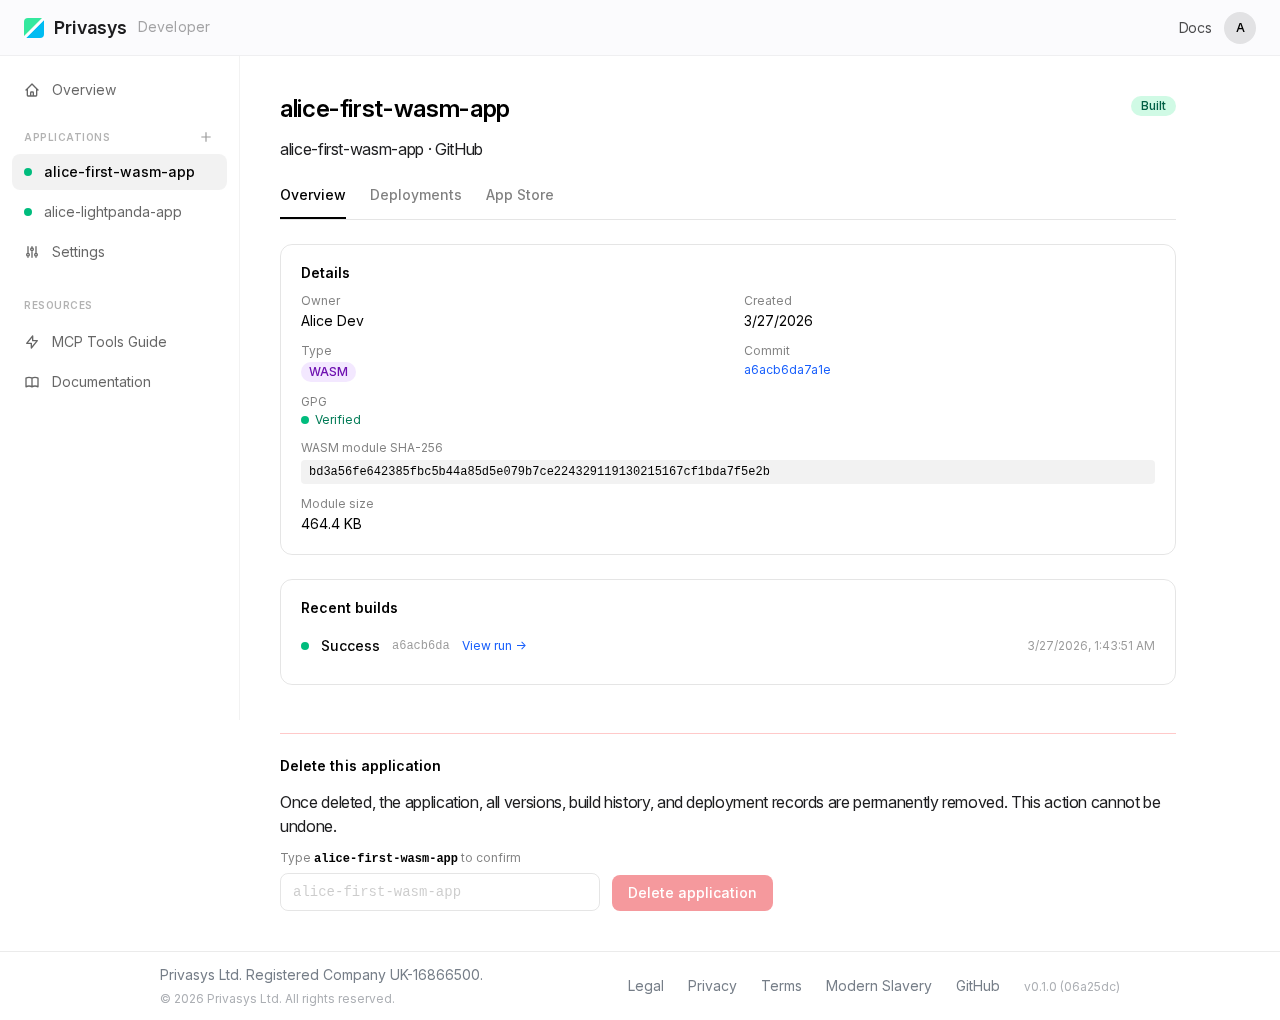
Compare this SHA-256 with the one from the GitHub Actions build log — they must match. This is the first link in the verifiable chain from source code to enclave.
Step 5. Deployments — select version and region
Switch to the Deployments tab. Select the version you just built and a deployment region, then click Deploy.
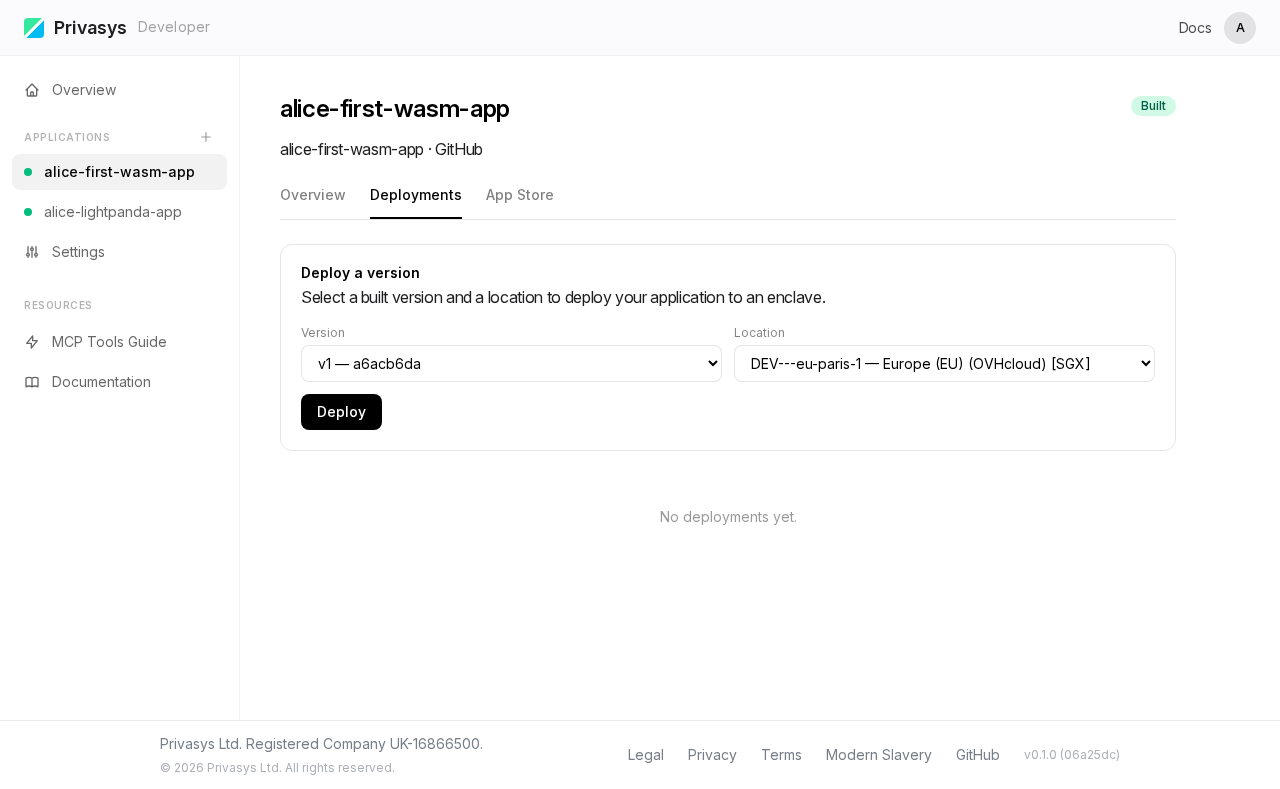
The platform delivers the .cwasm binary to an SGX enclave and starts serving it behind an RA-TLS certificate.
Step 6. Attestation — verify the enclave
Once the deployment is active, switch to the Attestation tab. Enter a challenge nonce and click Inspect Certificate to perform a live attestation check.
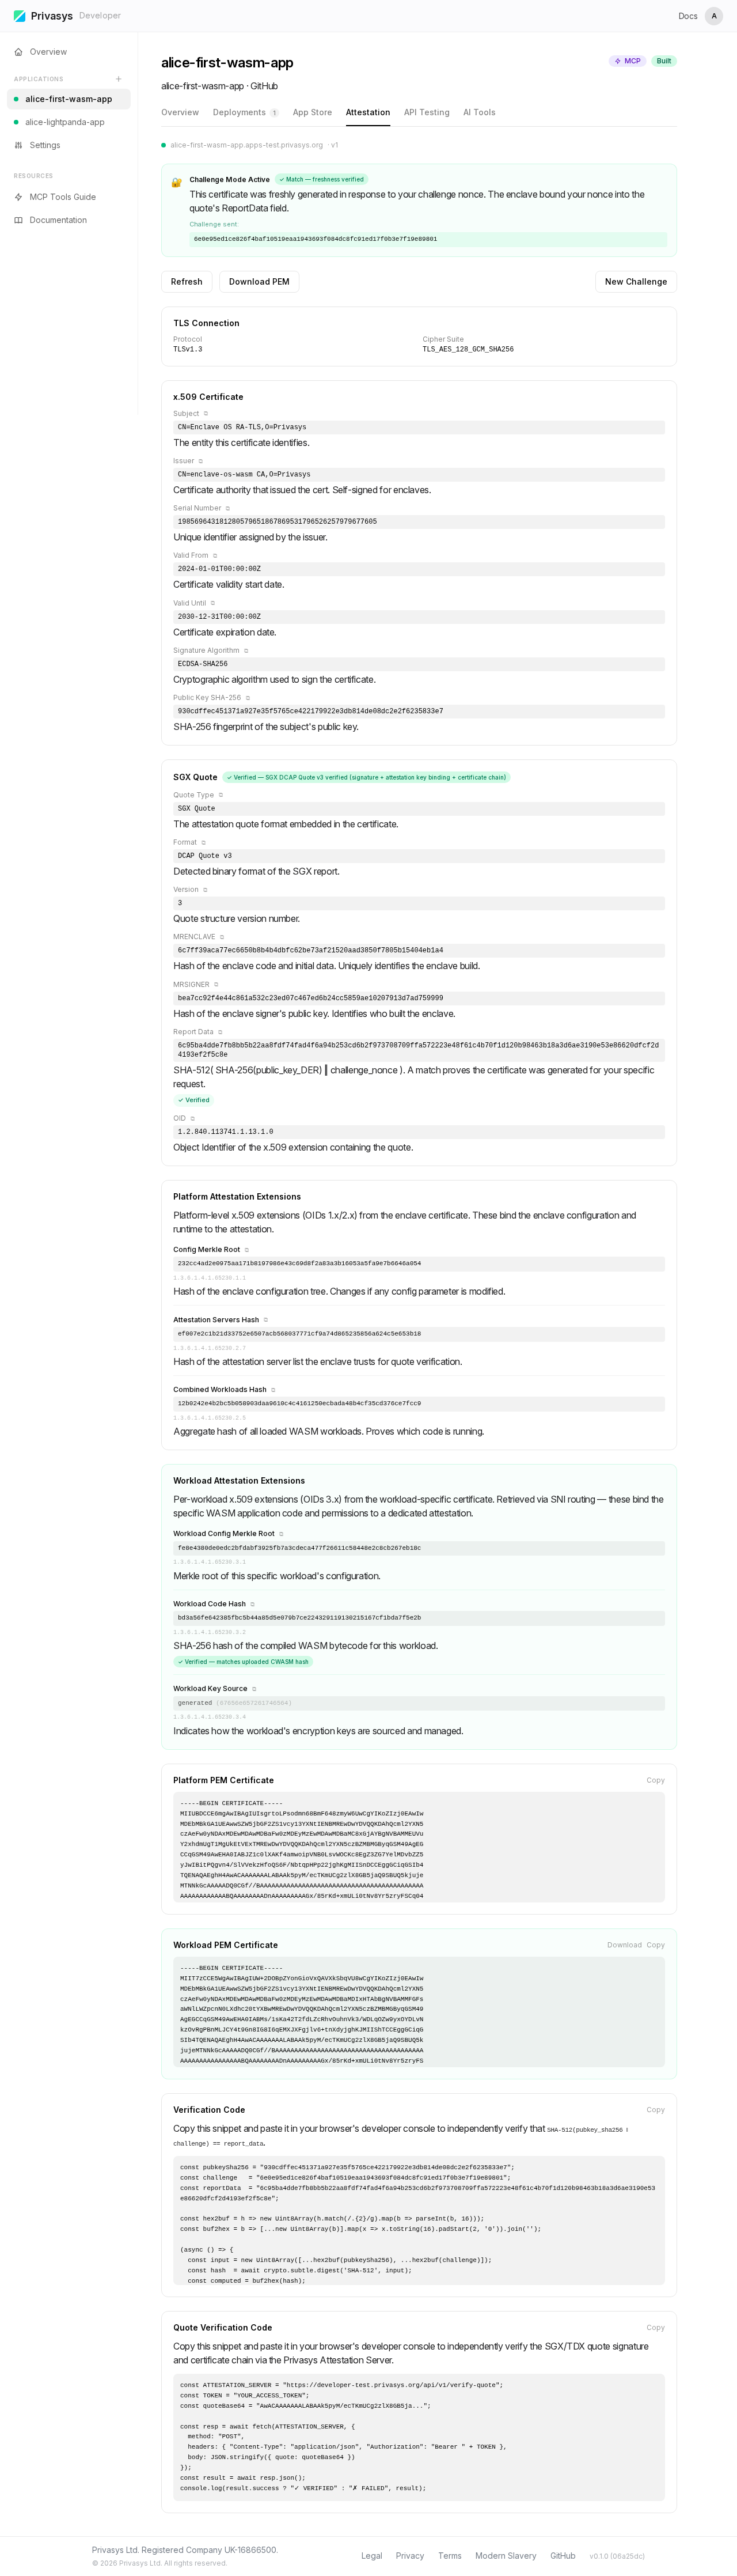
The panel shows the full TLS certificate chain, the SGX quote, and the parsed attestation extensions including the Workload Attestation Extensions where the code hash appears under OID 3.2.
SHA-256 match: the code hash in the attestation quote is the same SHA-256 from Step 4. This proves the enclave is running the exact binary that was built from your commit — no modifications, no substitutions.
Step 7. API Testing — call a function
Switch to the API Testing tab. Select get-random from the function dropdown and click Send.
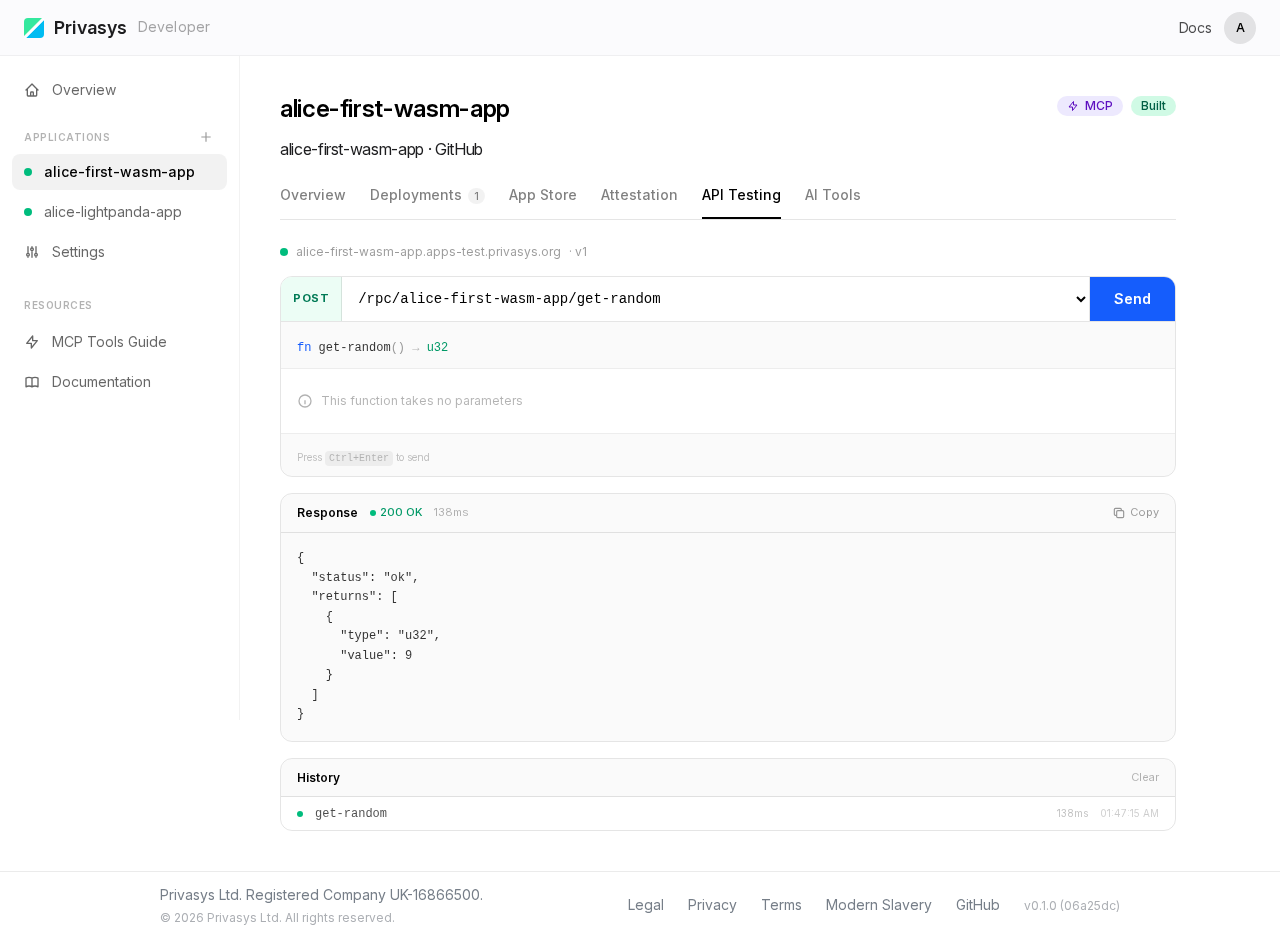
The response is returned directly from the enclave over the attested TLS channel. For WASM applications, the platform generates type-aware input controls from the WIT schema — text fields for strings, number inputs for integers, toggles for booleans.
Step 8. AI Tools — MCP tool server
Switch to the AI Tools tab. The platform automatically generated an MCP tool manifest from the WIT interface.
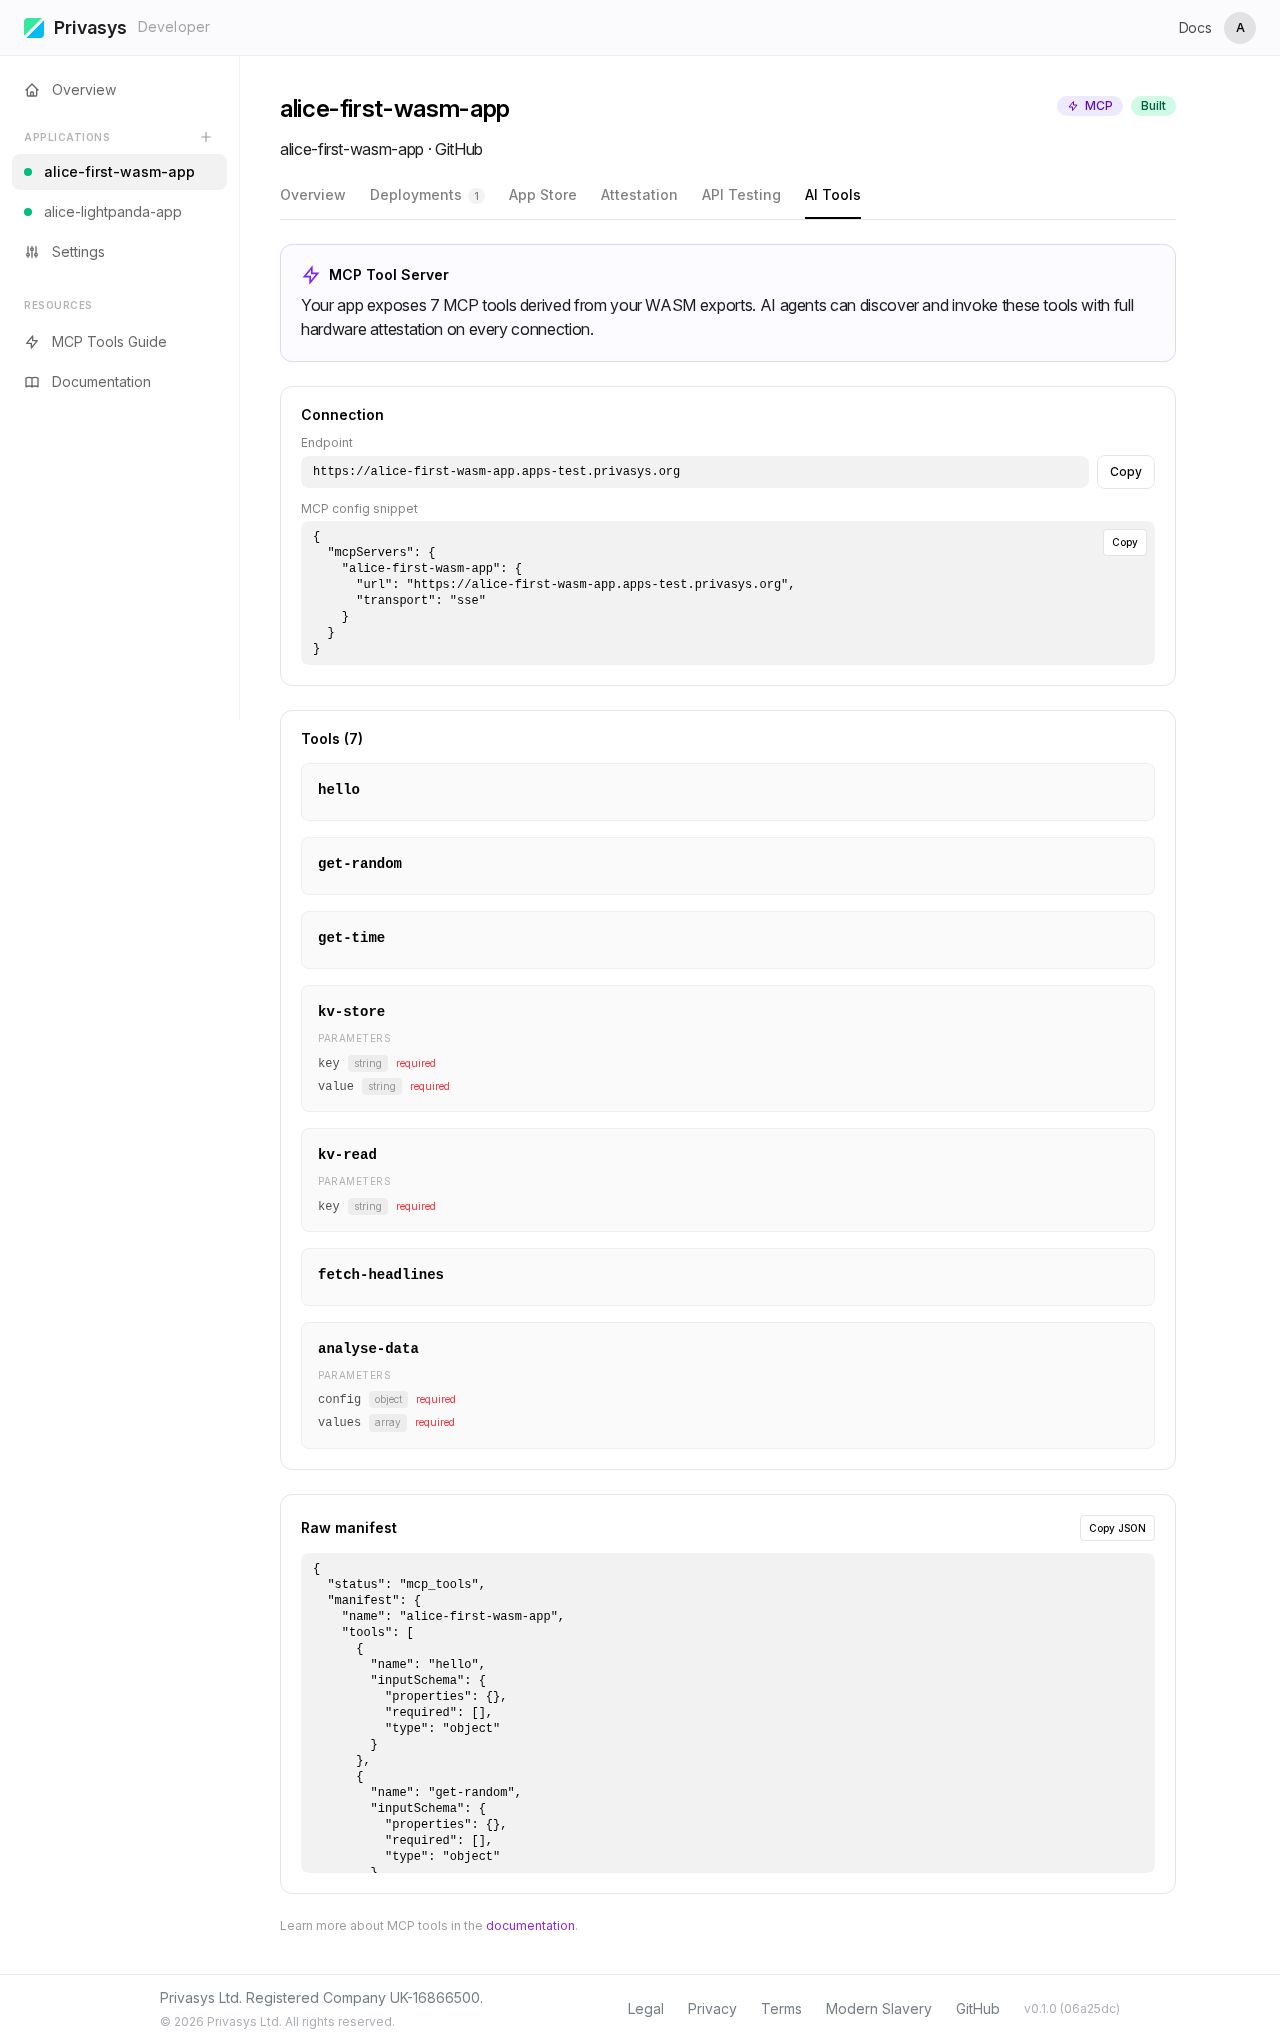
Each exported function becomes an MCP tool with its name, description (from /// doc comments in the .wit file), and parameter schema. The tab shows connection instructions for AI clients like Claude or Cursor — every call is attested end-to-end.
Part 2 — Deploy a container application
This tutorial deploys the container-app-lightpanda repository — a headless browser running inside a TDX enclave, with a single MCP tool browse declared in privasys.json.
Step 1. Empty dashboard
After removing the WASM app, we start from an empty dashboard again.

Step 2. New application form
Click New Application. The same creation form appears.
Step 3. Paste commit URL — auto-detection
Paste the commit URL from the container-app-lightpanda repository. The platform detects the privasys.json manifest and automatically selects Container as the application type.
Name it alice-lightpanda-app.
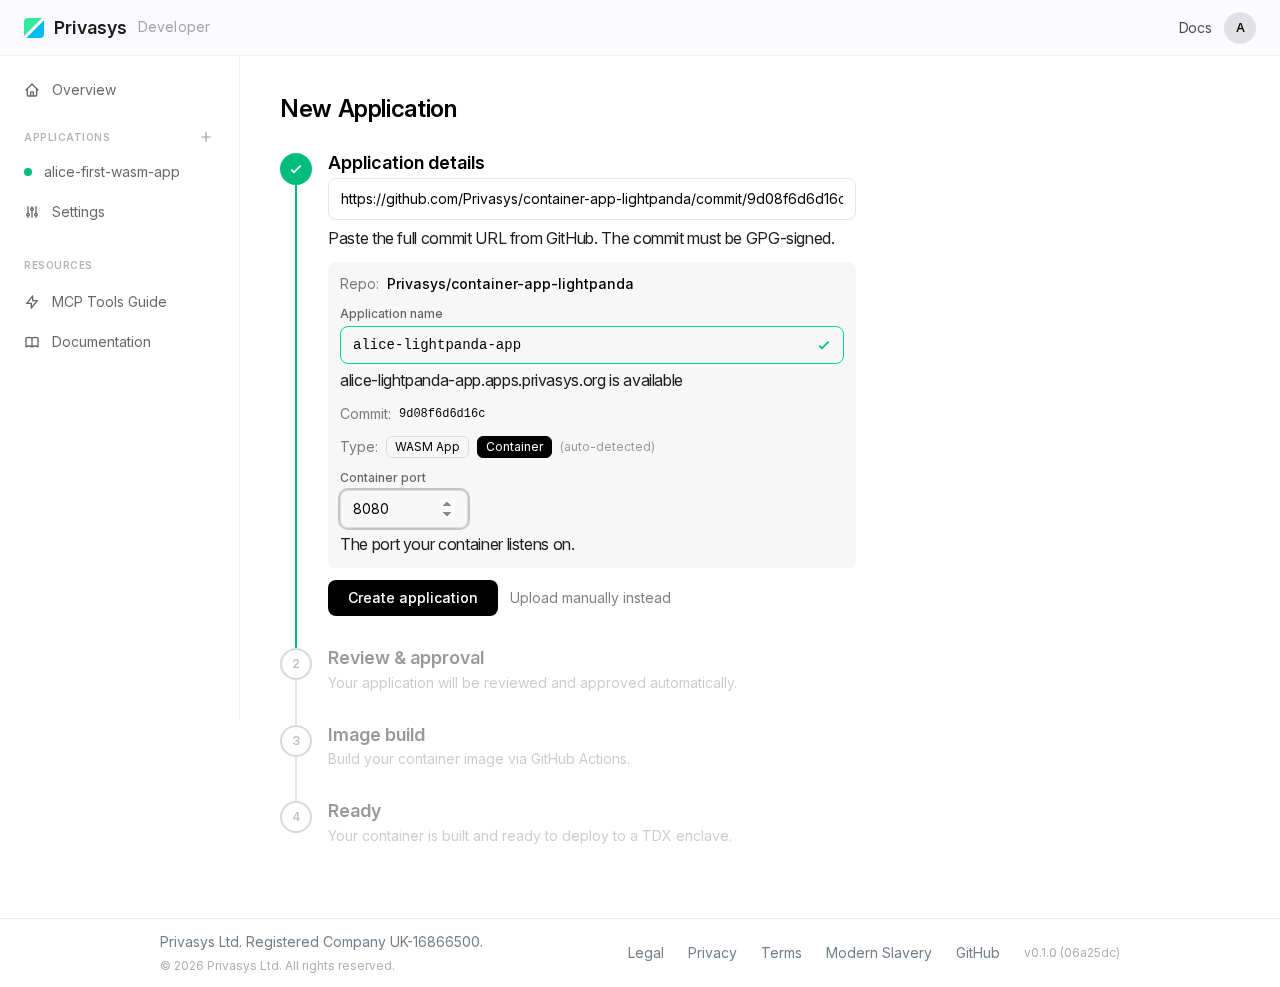
Notice the (auto-detected) label next to Container — the platform identified the type from the
privasys.jsonfile in the repository.
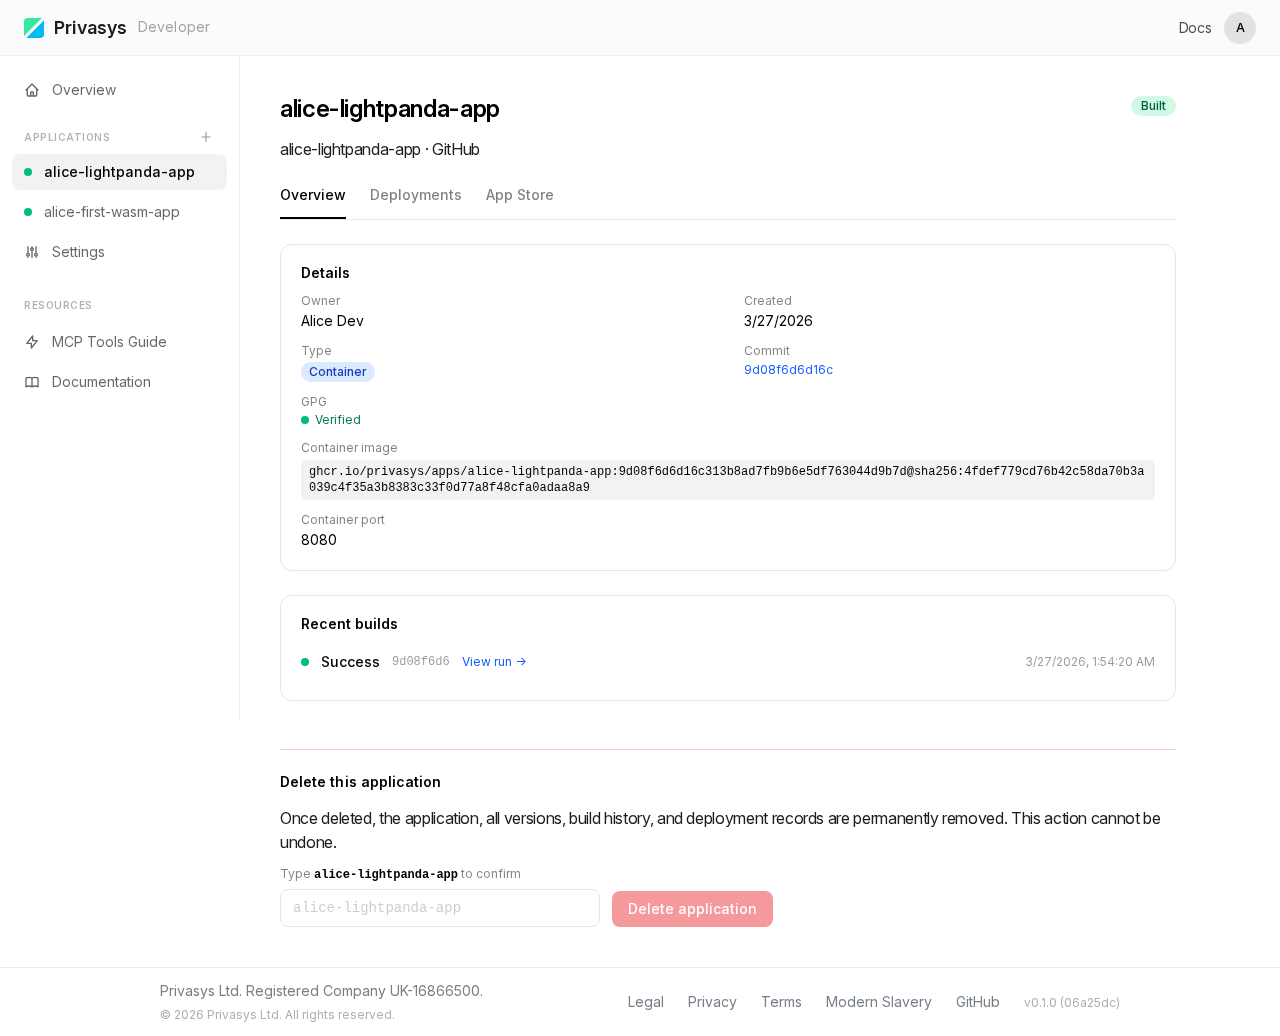
Step 4. Overview — build complete
After clicking Create, the platform builds the container image. The Overview shows the build status and application metadata.
Step 5. Deployments — select version and region
Switch to the Deployments tab. Select the version and region, then click Deploy.
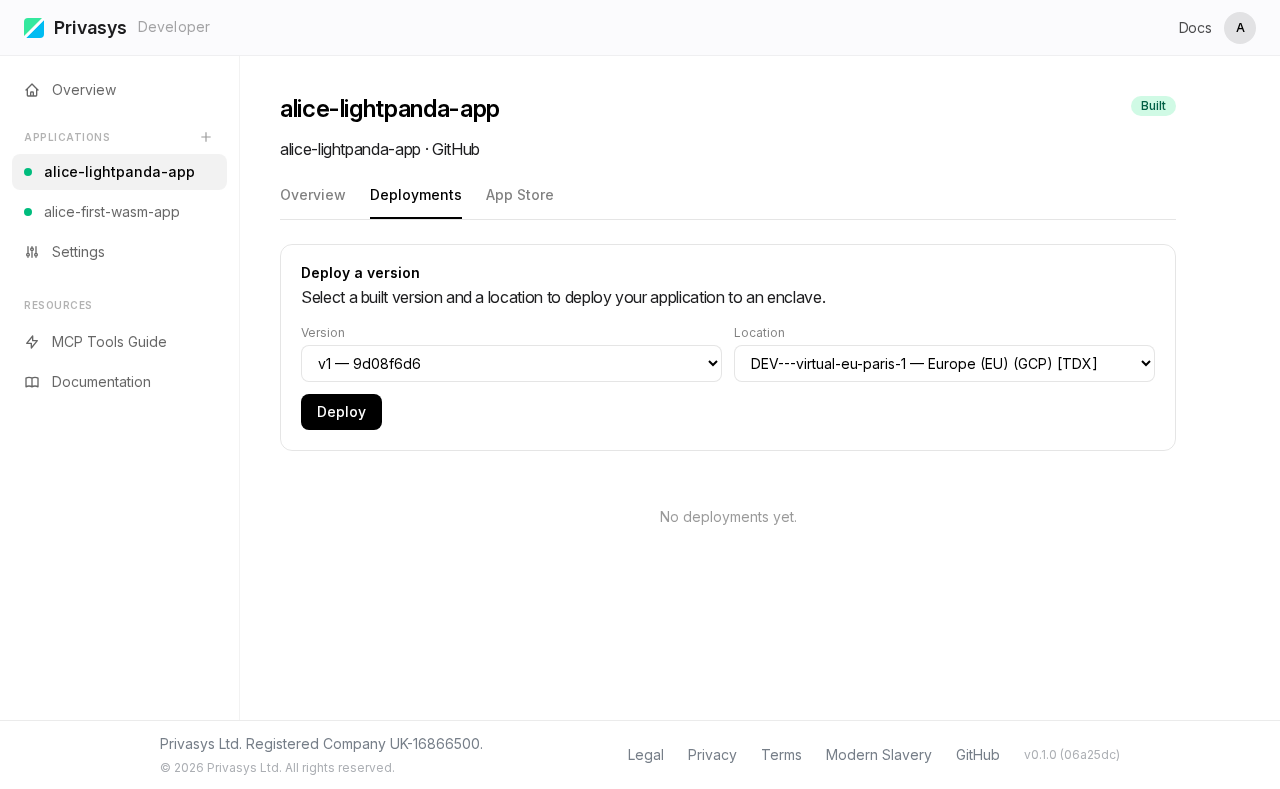
The platform deploys the container image to a TDX enclave. Unlike WASM on SGX, the TDX attestation covers the entire VM boot chain — from firmware through the OS to the application layer.
Step 6. Attestation — TDX quote and measurements
Once the deployment reaches Active status, switch to the Attestation tab and click Inspect Certificate. The platform performs a TLS handshake with the TDX enclave and extracts the attestation data.

The attestation includes a TDX quote with RTMR (Runtime Measurement Register) values that cover the full boot chain — from firmware through the OS to the container layer. Unlike SGX which measures a single WASM binary hash, TDX attestation proves the integrity of the entire virtual machine.
Step 7. API Testing — browse tool
The API Testing tab shows input fields generated from the privasys.json JSON Schema. For this LightPanda container, there is a single browse tool that accepts a URL.

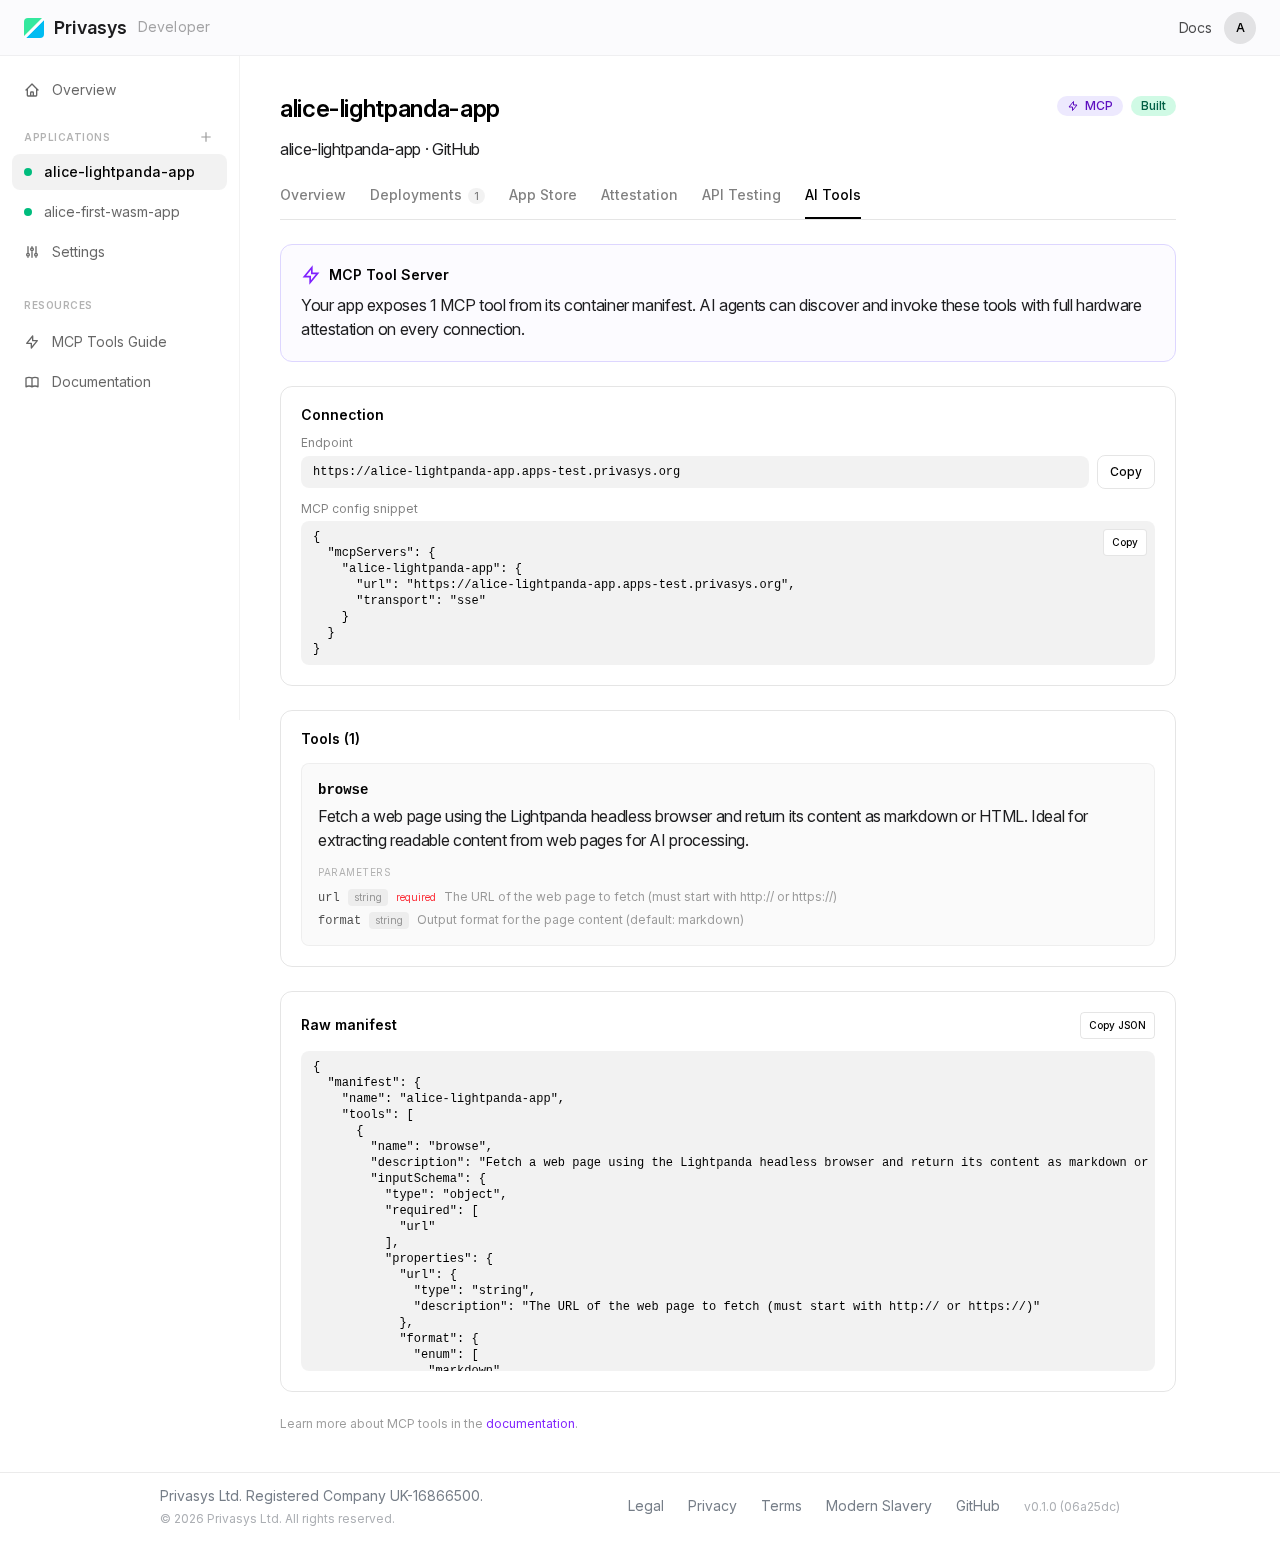
Step 8. AI Tools (MCP)
The AI Tools tab displays the MCP tool manifest with connection instructions — same as WASM, but tools are declared in privasys.json instead of derived from WIT.
The container privasys.json for this app:
{
  "container_mcp": {
    "tools": [
      {
        "name": "browse",
        "description": "Browse a URL and return the page content.",
        "inputSchema": {
          "type": "object",
          "properties": {
            "url": { "type": "string", "description": "The URL to browse." }
          },
          "required": ["url"]
        }
      }
    ]
  }
}
What happens under the hood
When you deploy an application through this workflow:
- Build — the platform compiles your WASM module via reproducible GitHub Actions, or builds your container image from the Dockerfile.
- Deploy — the binary or image is delivered to a hardware enclave (SGX for WASM, TDX for containers) over an attested channel.
- Attest — the enclave generates RA-TLS certificates embedding a hardware-signed attestation quote.
- Route — your application receives a hostname under
*.apps.privasys.org. The gateway routes traffic without terminating TLS. - Discover — AI agents and clients discover your application's tools via MCP and verify the attestation on every connection.
WASM vs Container — quick comparison
| WASM (SGX) | Container (TDX) | |
|---|---|---|
| Source | Any language compiled to .wasm | Any language, Dockerfile |
| MCP tools | Auto-derived from .wit | Declared in privasys.json |
| Attestation | Per-app code hash (SHA-256 of .cwasm) | Full VM boot chain (RTMR registers) |
| Enclave | SGX enclave | TDX virtual machine |
| Build | Reproducible WASM compilation | Container image build |
Next steps
- Deploy a WASM module — full reference for WASM deployments
- Deploy a container — full reference for container deployments
- Attestation and verification — deep dive into the attestation model
- MCP Tools — WASM MCP tool generation reference
- Verification libraries — verify attestation from Python, Go, Rust, TypeScript, or C#